Get crafty this season with our simple to follow guide, teaching you how to make your own fantastic sock fish craft.
- For each fish, choose three types of sock - one for the head and fins, one for the body and one for the tail. The fins are optional!
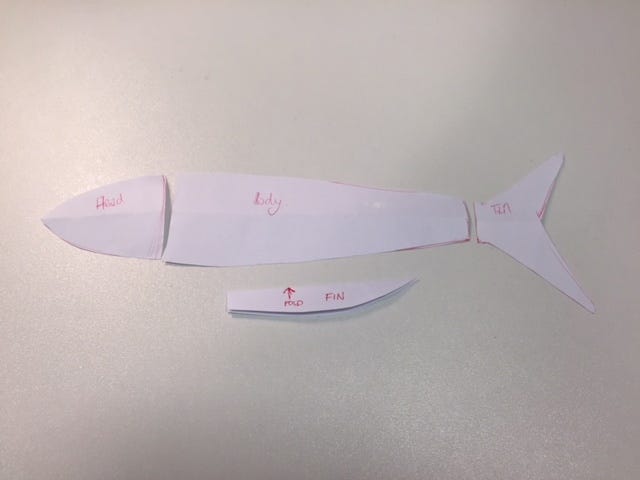
- Firstly, cut out the pattern on paper, for the head, fins, body and tail.
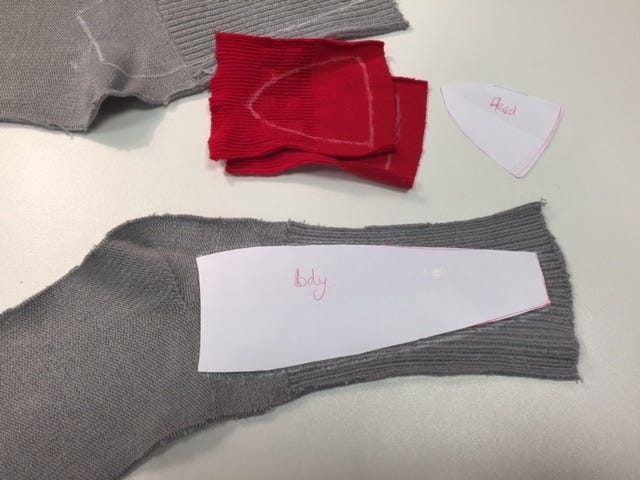
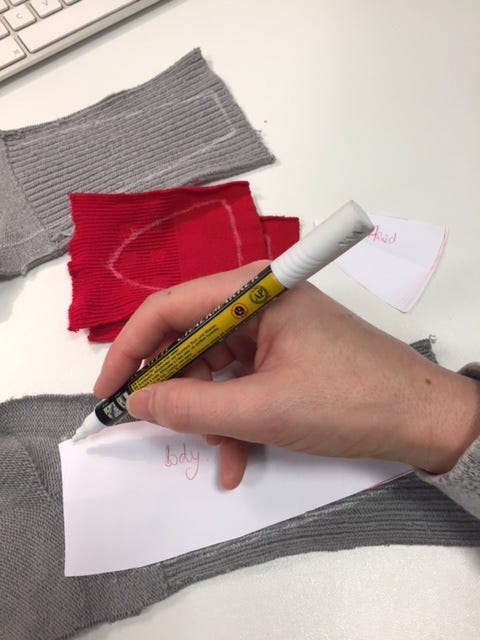
- Cut the socks in half, open them out and lay the templates on the inside of the relevant sock. Draw round them and then cut two of each template per fish (one for each half of the fish's body).



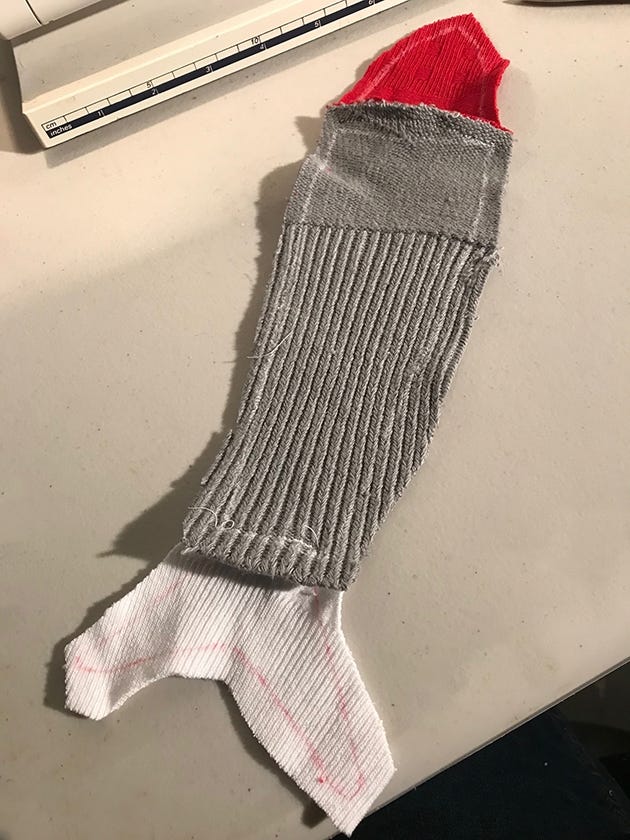
- Pin the head and tail to the body of each half of your fish, right sides together.
- Next, sew across the join of the tail and the body and then the head to the body. Then trim off the excess.
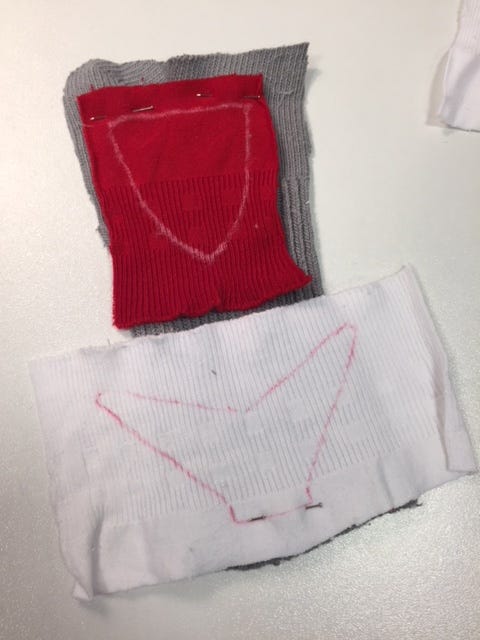

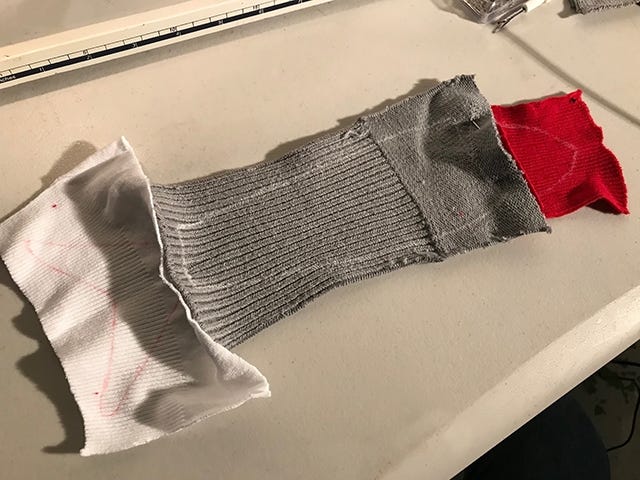

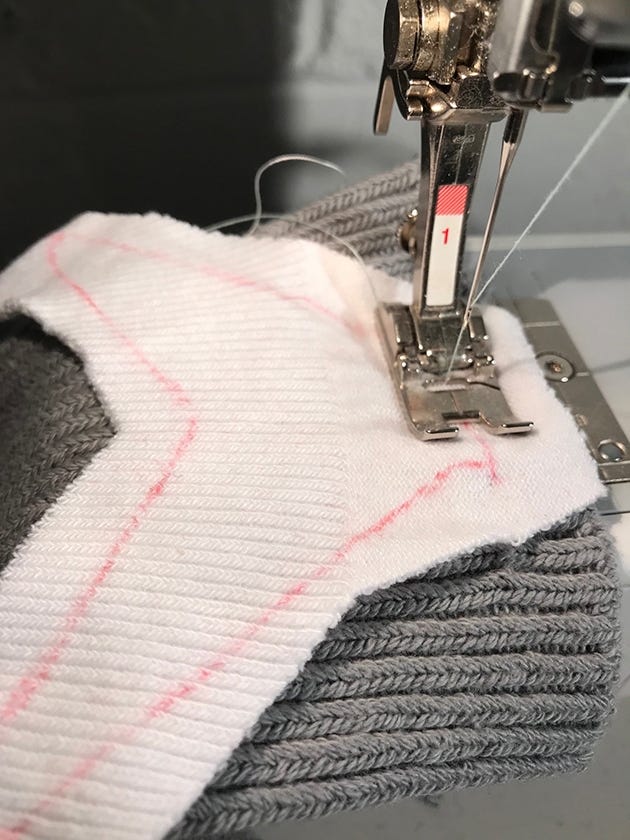

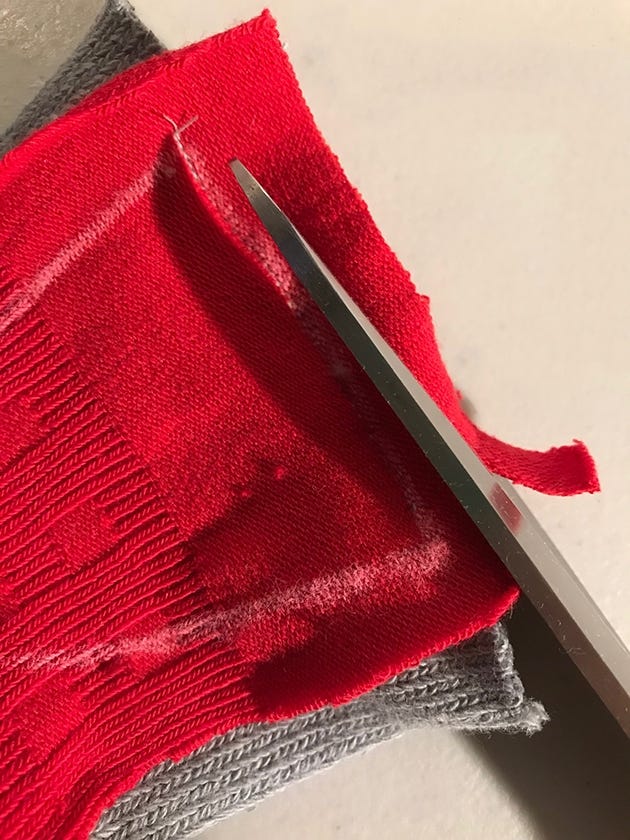

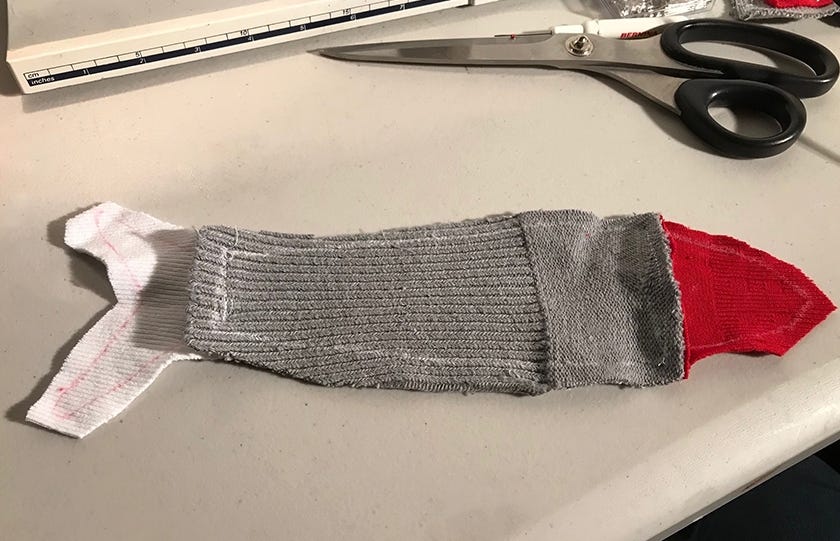


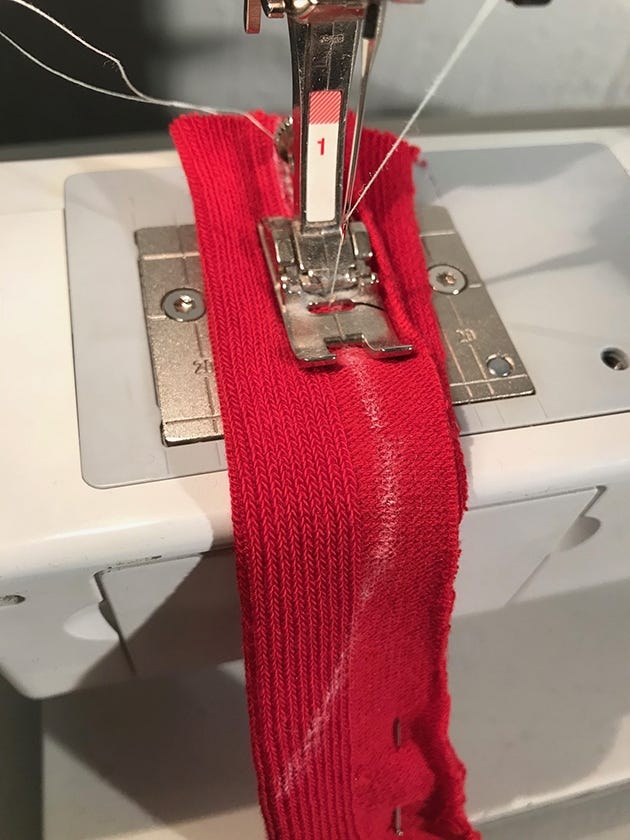
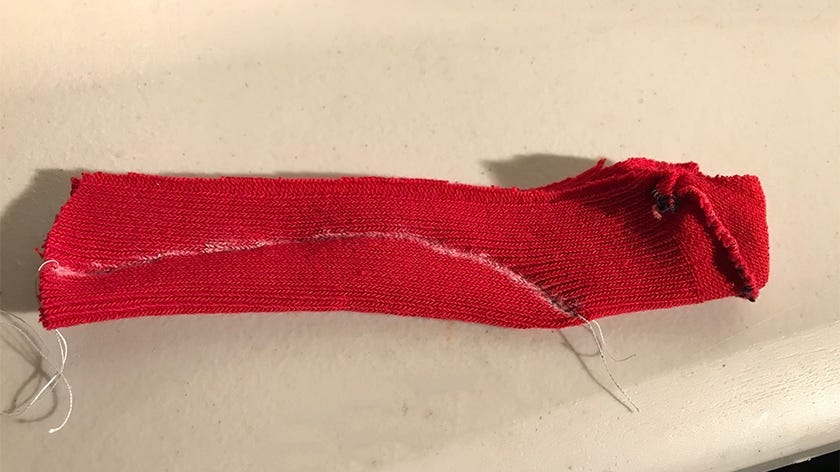
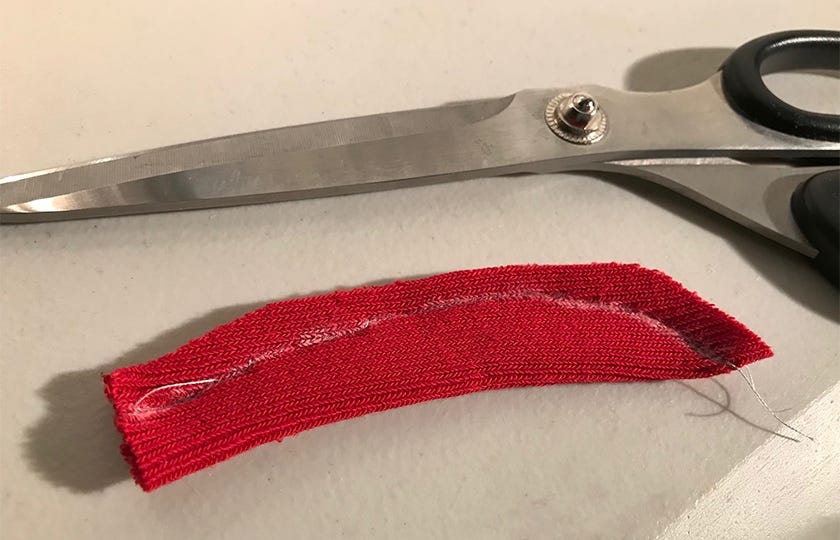
- Stitch around the white line, leaving the end of the find open so you can turn it inside out.
- Trim the excess and turn it inside out.
- To connect the pieces, go to the opening of the fish and stuff with wadding. Push it all the way down into the ends of the tail and the top of the head. If you want added weight you can always use lentils in the tail.



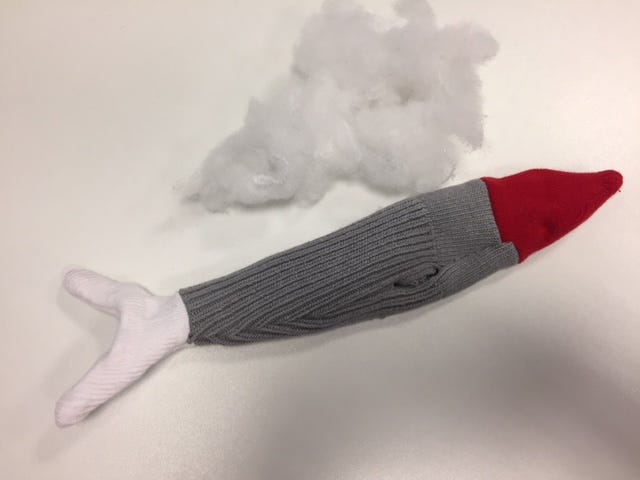

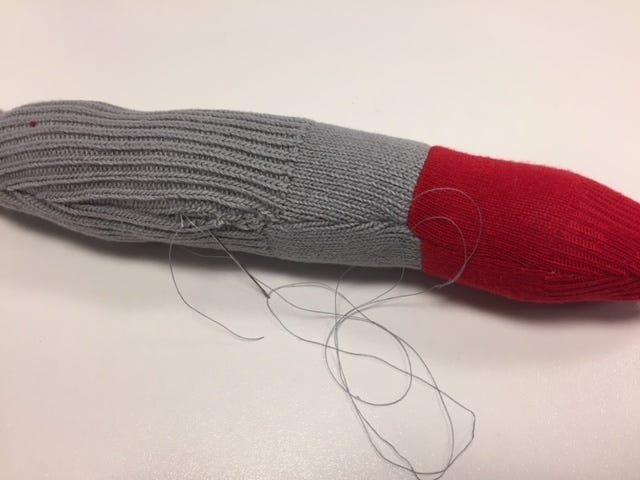
- Stitch up the opening with a needle and thread, stitch the fins onto the outside as well.
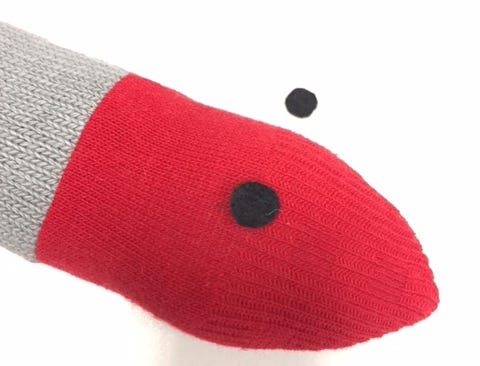
- Now, cut small circles out of felt and stitch on with a needle and thread for the eyes.



- You have your finished sock fish! Sew them to some string and hang them in your home and be proud of your sock fish creation.


